

Change the reserve battery level in Windows 10
Change the reserve battery level in Windows 10

Right before your laptop enters hibernation mode, it will send a notification telling you that your battery is low and you should connect it to a power source right away.
How to change the reserve battery level in Windows 10
The amount of battery left before a laptop or notebook enters hibernation mode is called the reserve battery level. How you should set it depends on various factors. Over time, the original capacity of a battery decreases so if you have an older battery a 5% reserve battery level might not be enough. If your laptop’s battery is still new, 10% is probably too much.Regardless, you can change the reserve battery level in Windows 10 (and older versions as well) so here’s how you can do it.
Each power plan has its own reserve battery level setting and there are two default power plans (although you can set up more if you ever need to). The conclusion is that if you want to change the reserve battery level you will need to do it for each of your power plans.
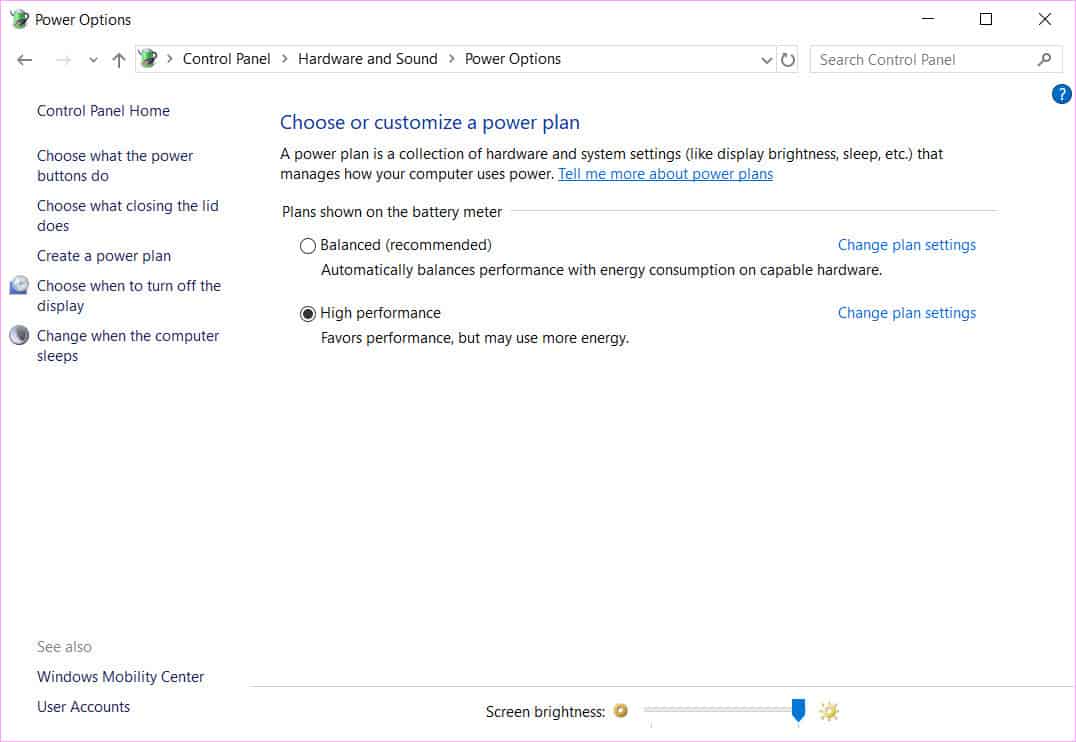
Open the Control Panel app. If you don’t have a shortcut just click the Start button, type “control panel” and click on the first result. Navigate to Hardware and Sound -> Power Options.
An even faster way to get to the same Control Panel location is to right-click the battery icon in the taskbar and select “Power Options”. Click on “Change plan settings” for the power plan you want to change the reserve battery level.

On the next screen, click the “Change advanced power settings” link. This will open the Power Options window.

Scroll down to the Battery section which is the last one. Expand it and then click on the “Reserve battery level” option. There you will be able to change the reserve battery level for both “on battery” or “plugged in” situations but the first one is the one we’re interested in.
Click on it and use the arrows to adjust it or manually enter the new value. Hit the OK button to close the Power Options window and apply the new setting.
You might already know this but Windows 10 also has a feature called Battery Saver. It kicks in when your battery is low and customizes some settings to lower power usage. It’s also possible to adjust at which battery level Windows 10 should enable Battery Saver but don’t mistake it with the reserve battery level.
That’s an entirely different setting and sets the battery level at which your system will be forced into hibernation mode. For this precise reason, it’s a good idea to set the Battery Saver to kick in at a higher battery level than the reserve battery level otherwise it will be pointless to have this option enabled.
It’s worth using the Battery Saver since it will lengthen the time during which you can use your laptop unplugged and/or have enough time to save your work before it enters hibernation mode.
this topic Copy
Transported
Aucun commentaire: